ElEd: Personalization

9.1 The Importance of Personalization in the Elementary Classroom
To borrow a slogan from Burger King, the world is increasingly telling people to “have it your way.” We have never had more choices than we do now. The internet has provided us with seemingly unlimited products to choose from, many of which we can customize in multiple ways. In contrast, many classrooms still largely use a one-size-fits-all approach to learning. In the previous chapter, Data Practices, we shared how data could be used to differentiate instruction. Personalization is another avenue to break free of one-size-fits-all instruction by putting students in the driver's seat and giving them some control over their learning. Personalized learning recognizes that students have different backgrounds, interests, skills, and abilities and honors those differences. By amplifying students’ voice and choice, personalized learning becomes a way to help students develop their strengths and overcome their weaknesses across content areas. It also helps them develop the skills they need to make good decisions and take ownership of their learning. In the video below Dr. Chawanna Chambers explains how blended teaching can facilitate personalization so that all students grow.
Teachers Talk: Adapting to Personalized Learning: A Leader's Perspective (5:08)
Reflection Question: In what ways can personalized learning help you meet the needs of a diverse group of students?
9.2 Personalization Dimensions in an Elementary Classroom
One way to think about personalization is to examine the ways students can personalize their learning. The five dimensions of personalized learning serve as guidelines for ways or methods we can apply when encouraging students to personalize their own learning. These dimensions are time, place, pace, path, and goals. In the sections below we will explore each of these dimensions.
Figure 1
Five Dimensions of Personalized Learning
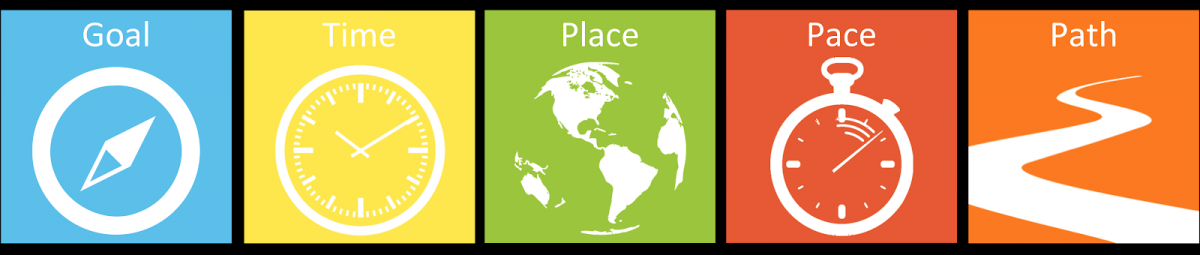
In the sections below we will explore each of these dimensions.
9.2.1 Personalizing Time and Place
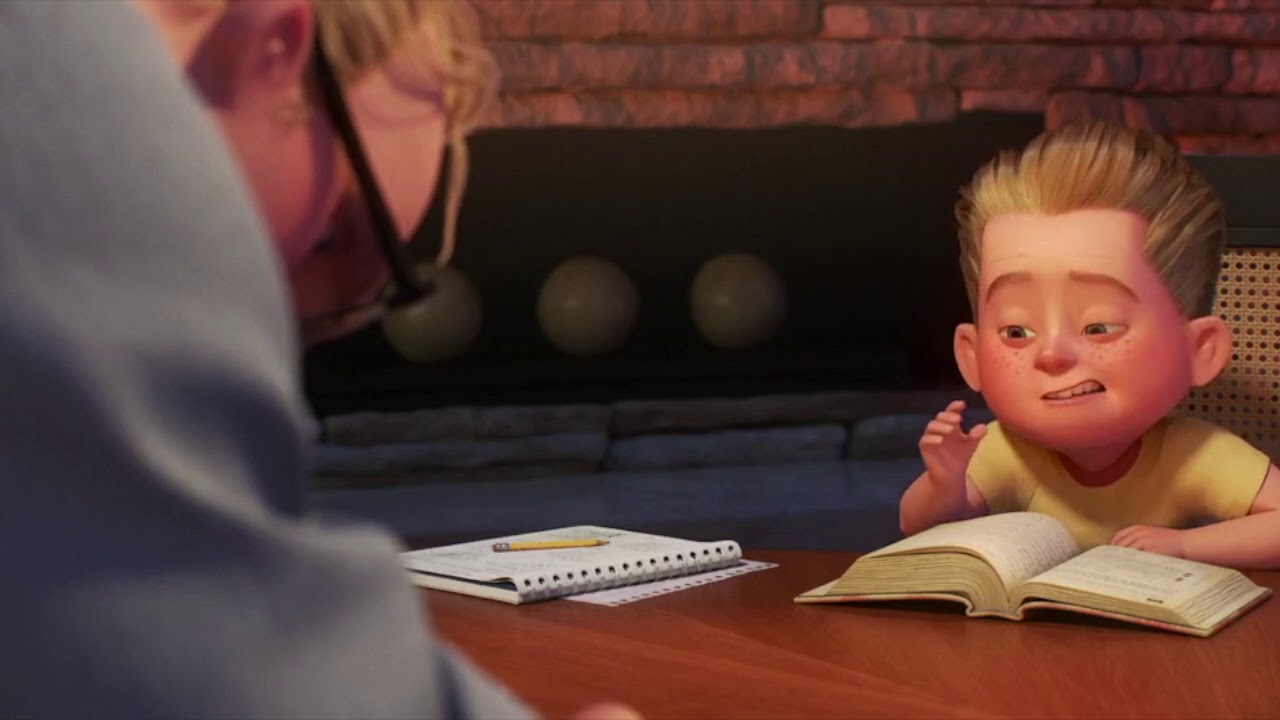
Learning doesn’t have to stop when students leave the classroom. Clearly this concept is not new. Students are commonly assigned homework that is meant to help them learn and practice skills. However, homework becomes especially difficult when students become stuck and can’t turn to anyone else for help. This can also be frustrating for parents who have to take on the role of teacher at home but lack the skills to do so, as was hilariously depicted in the “Math is math!” scene in Disney’s Incredibles II. You may have watched this video in chapter 3, but it’s worth another watch while considering the importance of personalizing students’ learning time and place.
Teacher Example (4:59)
Reflection Question: How can you empower your special education students to personalize their learning?
In order for students to truly personalize their learning time (when they learn) and place (where they learn), they not only need continuous access to learning materials and assignments, they also need the necessary support to actually understand the learning materials themselves in order to complete the assignments. For instance, in The Incredibles clip above, Dash had access to the learning material (the book) but still needed support to understand the material in order to complete the assignment. Now imagine how that scene might have played out if Dash had a blended teacher who had made short instructional videos that walked students through example problems that he could have watched when stuck. Dash could have completed his homework on his own, and Mr. Incredible could have continued to watch television. (Perhaps not as funny a scenario, but better for learning math.)
Videos can be a great way to provide digital directions and instruction, but some educational programs, such as adaptive learning software (see the previous chapter on Data Practices), already have built-in supports that are available for students to use when and where they like.
If you’ve never given students the opportunity to personalize their learning time or place in the past, here are tips for getting started:
1. Create an online space for learning materials and directions.
The online space you create will likely be the online learning system (LMS) your school provides. As explained in our chapter Online Integration, creating and maintaining a learning management system (LMS) or class website can be especially important in helping students stay organized when personalizing learning time and place. For instance, Google Classroom is an LMS that is free and keeps getting better. The following screenshot was taken from a unit created by Corey Teitsma, an elementary teacher in Fairfax County Public Schools. Notice how he has included an orientation video, a popular Hollywood-type video to grab students’ attention, a graphic organizer, a hyperdoc, a collaborative Google Slides, a discussion prompt, and a Google Doc checklist.

Other teachers choose to organize their learning materials and directions on a class website. For instance, Google Sites offers an easy, free way to create a website. The following screenshot was taken from a Google Site created by Katie Bruechert, a middle school librarian in Fairfax County Public Schools. Notice how her website is simple and well organized with clear headings. She also starts with an audio-recorded orientation.

A previous video in the Data Practices chapter shared how Chrissy McLaughlin uses free Google tools to create rich, interactive online learning platforms. In the following video, Chrissy adds how she uses Google Slides to create digital notebooks that allow students to personalize their pace of learning.
Teachers Talk: Using Digital Notebooks to Organize Students’ Pace of Learning (1:52)
Reflection Question: Which online platforms can you use to allow students to better personalize their pace of learning?
Along with Google suite, schools are also looking towards other LMS such as Schoology. Schoology uses a relatively simple design allowing lower elementary students to easily navigate pages. Below are some images of how Jodie Faust (a 3rd grade teacher) and Nicole Sandrowicz (a 3rd grade special education teacher) collaborate on Schoology to meet the needs of their special education students. The first image shows what students see when they log into a Schoology course. If the student clicks on the red Math folder it opens to an image for the slides that day (image #2). Once the student clicks on the image, it takes them to a personalized PearDeck to teach them the 3rd grade learning goal but also keeps in mind their needs (image #3). This activity was specifically created for a nonverbal student who struggled with fine motor skills. With these adaptations, the student was able to participate in the general education classroom at a personalized pace.

2. Create short instructional videos teaching concepts that can be challenging for students.
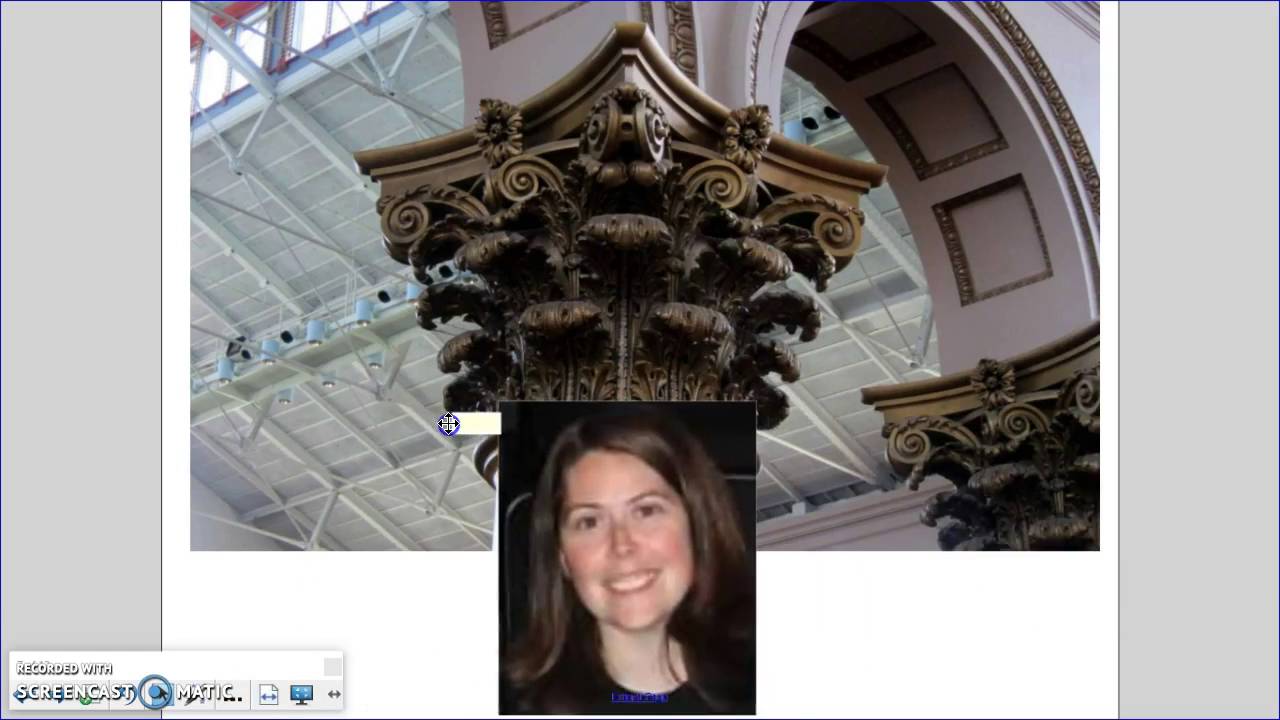
It’s never been easier to create a video. There are free screencasting tools (screencast-o-matic.com is our current favorite) that you can use to record anything on your screen. Some tools also allow you to include a webcam video of you talking. In the following video, Crystal Dunn, a third-grade teacher, used Screencast-o-matic to record a short instructional video teaching Greek column orders. Notice that the video is relatively simple but has great visuals, and she even manipulates some of the graphics. (You’ll never see Ionic columns the same again!)
Teacher Example
Reflection question: How can you use video to help students to personalize their learning place, pace, and time?
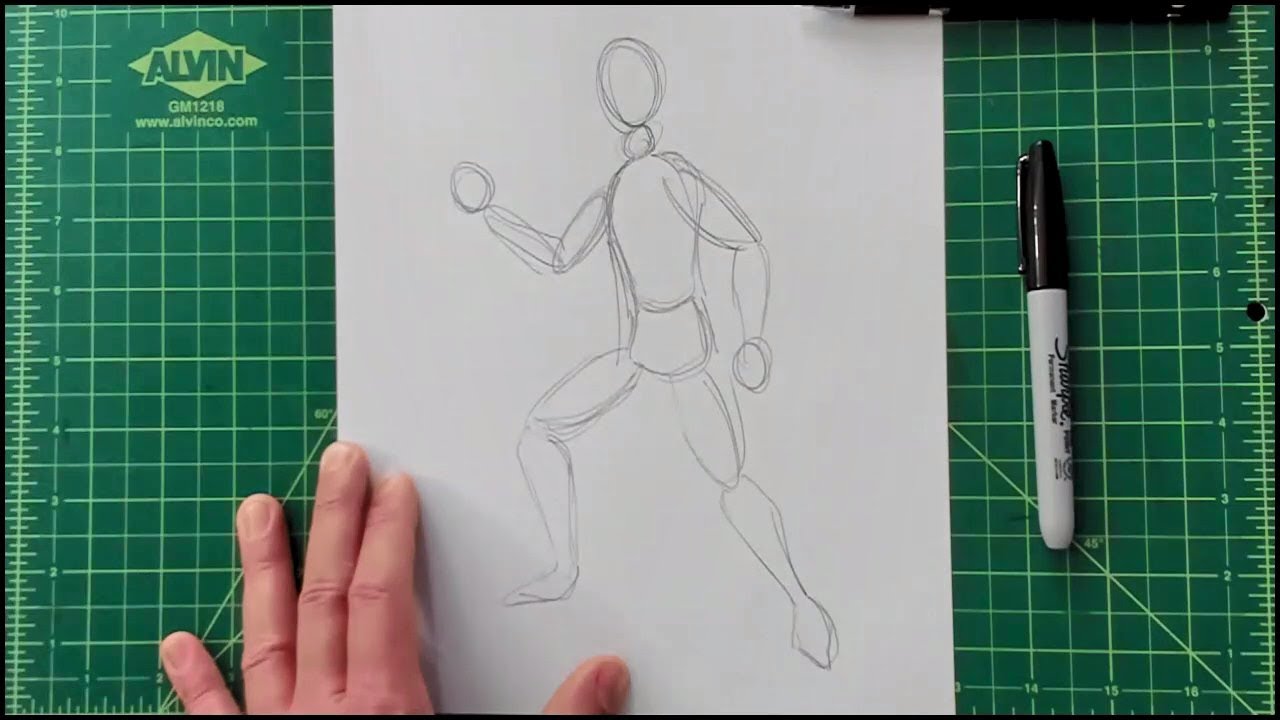
You likely have a powerful camera on your phone that you can use to make instructional videos. Jacob Nawrot, an elementary school art teacher, created simple but effective videos by positioning a camera to film his drawing while recording his voice narration. Similar techniques could be used in any subject. For instance, imagine a teacher writing out math problems or reviewing a map in social studies.
Teacher Example
Reflection question: How can you use video to help students personalize their learning place, pace, and time?
3. Adopt collaborative and communication tools.
Collaborative tools such as those found in Google Drive, online communication tools such as Flipgrid, and discussion boards allow students to extend their collaborations and discussions outside class time to anytime and anywhere they have an internet connection.
Allowing students to personalize their pace of learning is especially important for students because it provides them with the time and space to explain their thinking. Here is an example with Nicole Sandrowicz’s Ancient Mali unit where her students were given a topic to respond to. This not only allowed Nicole to assess her students’ knowledge but also provided students with opportunities to practice communication skills. Students could also respond anytime, during class or outside of school using audio or video recordings.

Below is another example of how Nicole Sandrowicz engaged her students to practice their sight words through a collaborative board game. “I took a regular board game and adapted it on a Google Slide. Each student was given the link so that they could log on and join from their computer. Each student was given a colored chip and took turns rolling a virtual dice. The students were so engaged that they continued playing with each other after at home!”

Emily Fox’s fourth-grade students in Hawaii commonly edit videos collaboratively using WeVideo. Since WeVideo allows for synchronous and asynchronous collaboration, frequently students will start collaborating synchronously on a video in class and then continue collaborating asynchronously from home.
Please see our chapter Online Integration for more ideas on how these powerful tools can be blended into your learning activities.
9.2.2 Personalizing Pace
Allowing students to personalize their pace of learning (how quickly or slowly they complete assignments) requires the same level of online access and support that is necessary for students to personalize their learning time and place. In addition, students need to be able to complete assessments and receive timely feedback from their teacher so they can move on to the next assignment. In a blended setting this can include assessments, such as a quiz, that can be objectively scored by technology. It can also include the use of an LMS, where students can submit their work online for the teacher to grade and return with feedback.
Personalizing the pace of learning often includes giving students a window of time on due dates for completing activities, assignments, and assessments. Personalizing pace encourages students to manage their time. They know what they need to do and when it needs to be completed.
If you’ve never allowed students to personalize their learning pace, here are some tips for getting started.
1. Create detailed digital instructions.
For your students to be able to personalize their pace of learning, they need to clearly understand your expectations. For complicated tasks, it’s helpful to break each task down into manageable chunks that you can further divide, even bullet pointing the directions.
There are also times when visuals and examples can help. For instance, it can be helpful to do an assignment walk-through using a screencast video. Similarly, images can be helpful to demonstrate what to do and what not to do. Jacob Nawrot, an elementary school art teacher, created the following graphic to help his students better frame their photographs and video.

2. Create overviews and checklists.
When students are learning at the same pace, the teacher will typically start each lesson or activity with a whole-group orientation or overview. However, that one-size-fits-all approach is more difficult when students are provided some control over their pace of learning that allows them to start and complete lessons at various times. When teachers record a video orientation, students can watch it when they are ready to start a lesson. Additionally, checklists can help students stay on task and answer the question, “What am I supposed to do now?” Checklists, along with rubrics, can also be a helpful final check to make sure students have completed everything before they submit their work. In the following video, see how Corey Teitsma orients his fifth-grade students to a new unit. Also notice that he provides a checklist to help students know when they are finished.
Teacher Example

Reflection question: How can video orientations or directions help your students?
3. Take inventory of the self-paced educational software your school or district provides.
There are several tools specifically designed for self-paced, differentiated learning. While there are some free tools such as Khan Academy Kids, most are proprietary. These tools tend to focus on literacy and math skills, but there are some resources that can help students self-pace their learning in other subjects as well. It’s also important to note that these tools are not designed to replace the teacher and typically provide teachers with learning data and resources they can use to target students’ learning deficits. There are also student-paced modes on tools. The following are some self-paced educational software that can be found in elementary schools:
| Examples of Self-Paced Educational Software | ||
|---|---|---|
|
Pear Deck |
Nearpod |
ST Math |
|
I-Ready |
Imagine Learning |
What other self-paced educational software is available at your school? |


9.2.3 Personalizing Path
Allowing students to personalize their learning time (when), place (where), and pace (how quickly) is important, but none of them alone actually gives students the power to choose their learning activities or assessments. When you allow students to personalize their learning paths, your students will not all be doing the same assessments and activities.
If you’ve never provided students with opportunities to personalize their learning paths, here are some tips for getting started.
1. Provide students a choice between two options (this or that).
An easy place to start is to provide students with two options for learning activities or assessments. Emily Fox commonly provides her fourth-grade students with a choice about how they make their learning visible. For instance, she commonly allows students to choose between creating a Google Slides presentation or a video using WeVideo.
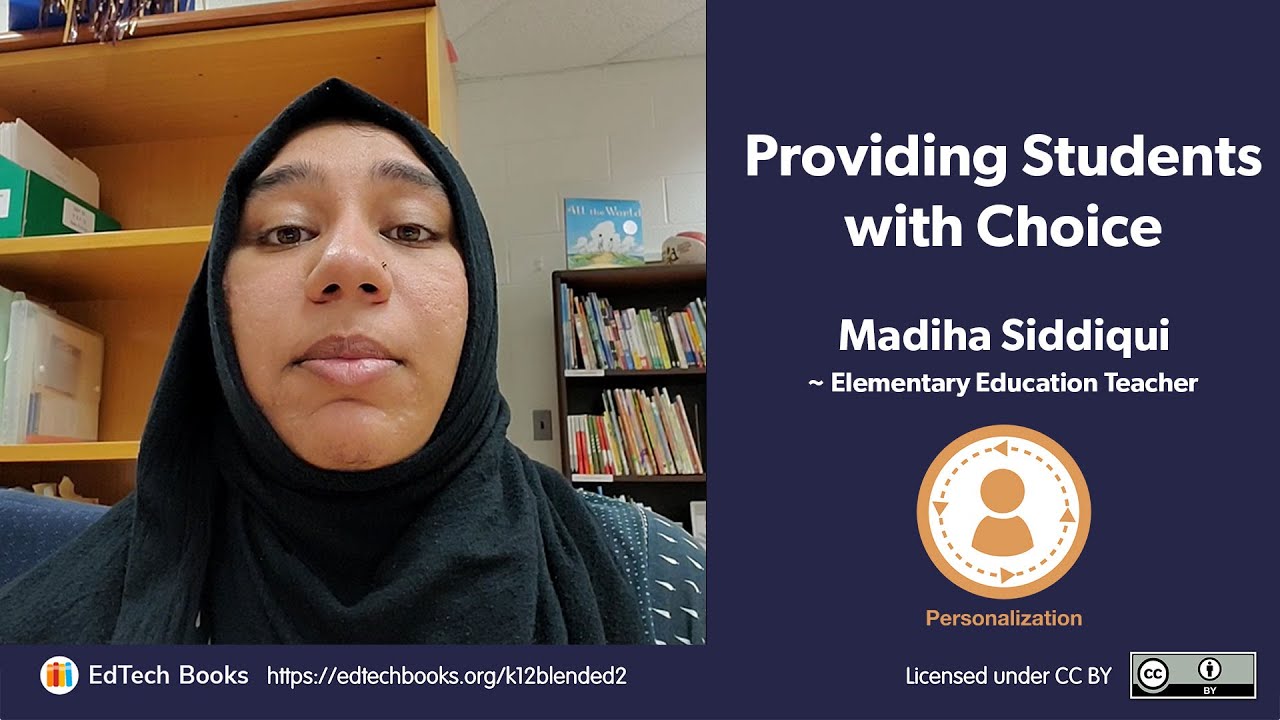
In the following video, Madiha Siddiqui shares how she typically provides students with digital and non-digital options on assessments.
Teachers Talk: Providing Students with Choice (1:20)
Reflection Question: How can you integrate student choice in your students’ next project?
Reflection Question: For what learning objective might you be able to utilize a choice board to differentiate and personalize your instruction?
2. Allow students to pitch their own assessment (this, that, or another).
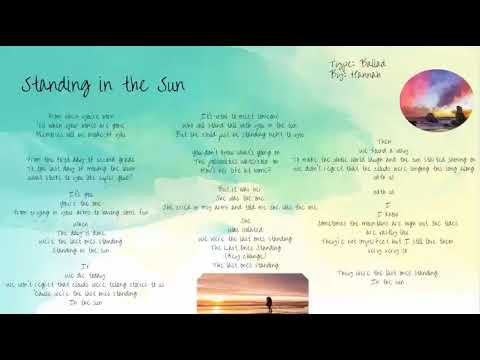
Building on the previous suggestion of allowing students to select “this or that,” you can allow them to pick from “this, that, or another.” The “another” option is one they think of on their own that would meet all the criteria and is approved by you. Most students will not choose to design their own assessment, but you may be shocked to see the amount of extra work and time students are willing to put into an assessment they have created. For instance, during a poetry unit Chrissy McLaughlin required her students to present their poetry in some way. While she set clear requirements for the poetry, she allowed students to choose how they actually shared their poetry with the class and others. Many students choose to record themselves reading their poem. However, as you can see in the following image, some students took entirely different approaches.

In another example a student actually sang her poem and revealed an interest and talent that Chrissy was unaware she had.
Teacher Example: Personalized Assessment (2:49)
Chrissy shared, “Allow students to choose their path. All I asked was for them to share their poetry however they envisioned it. They created what I could never have imagined. Letting them shine and grow creatively helps build community and connections.” In the following video, Chrissy explains how technology has expanded the ways her students can choose to make their learning visible and highlights some additional student examples.
Teachers Talk: Allowing Students to Personalize their Projects
Reflection Question: How might student proposed projects benefit your students and increase their motivation?
3. Allow students to select activities from a choice board.
Choice boards typically organize learning activities on a 3x3 table and allow students to select the activities they wish to complete. The teacher can also require some of the activities and then allow students to select from the remaining activities. Joli Boucher, a K-5 Technology Integration Specialist and Literacy Information Technology teacher, created the following reading response choice board.

In the following video, Chrissy McLaughlin shares her overall teaching approach to providing students with choice and describes how she uses choice boards to help facilitate student choice. Notice how Chrissy created a choice board and linked each choice to a presentation with directions and tutorials. Clearly, creating the choice board would have taken Chrissy a long time to create, but it was time well spent since the board could then be used repeatedly throughout an entire course.
Teachers Talk: Providing Students with Choice (2:27)
Reflection Question: What options would you include in a choice board for an upcoming unit?
The choice board examples above focus on making students’ learning visible so their teacher can assess it. Choice boards can also be used as a way for students to explore various learning materials and activities. For instance, Alex Dilldine, a first-grade teacher, created the following exploration choice board using Google Slides. On the first slide, Alex hyperlinked each of ten character traits to a slide containing media that taught students more about the trait.

Alex also created an activity exploration choice board using a space theme to better engage her first graders.

4. Provide students with differentiated, flexible playlists.
A playlist is an organized list of learning activities with all of the necessary resources students need to complete it. It allows students to personalize their pace of learning. Flexible playlists also allow students to personalize their paths of learning by deciding the order in which they will complete the activities and/or choose some of their own activities. In the following video, Beth Hooser, a first-grade teacher, shows how she creates flexible playlists in Google Slides. Notice how some of the activities are connected to Seesaw, where students can actually complete and submit assignments.
Teachers Talk: Allowing Students to Personalize their Projects (4:24)
Reflection Question: For what learning objective could you incorporate differentiation and personalization into a choice board?
Alex Dildine created the following flexible playlist, where students were not given a choice in the order of activities. Instead, they were provided a choice at each phase. To better support students, she used Mote to place audio clip directions for each step. In fact, she included directions in both English and Spanish.

5. Use project based learning (PBL)
When done well, PBLs provide students with choice throughout the learning process--including students’ paths of learning. In the following videos, Madiha Siddiqui and Emily Fox share examples of PBLs that they facilitated with their students. As you watch, consider all the student choice that was 'baked' into the process.
Teachers Talk: Allowing Students to Personalize their Projects
Reflection Question: How can you use a project to give your students greater choice in their learning?
Teachers Talk: Blending a PBL (5:11)
How did Emily Fox use technology and choice in this project with her students? How could you use these tools in a similar way?
9.2.4 Personalizing Goals
In addition to personalizing learning time, place, pace, and path, teachers can also allow students to personalize their learning goals. For instance, many blended teachers have begun to implement a passion project or genius hour, where students choose a project that interests them. Students are then given time each week to work on their projects. The following video by John Spencer is a nice introduction to the concept, and this article provides good advice to elementary school teachers seeking to integrate a genius hour into their classrooms.
What is Genius Hour? An Overview of Genius Hour and 20% Time in the Classroom
Reflection question: How could you use a genius hour to help students to personalize their path of learning?
Teachers can also allow students to personalize their learning goals within a specific topic. For example, many guided inquiry models provide students with time to immerse themselves in a topic and generate questions before they set their learning goals. Teachers can also help students to set, track, and reach goals focused on 21st century skills such as communication, collaboration, critical thinking, and creativity.
In order for you to facilitate students’ goal setting, you and they need to understand something of their needs and proficiencies as learners. This is where you can use the data you have gathered from the activities mentioned in the Data Practices chapter. Information from such sources helps you understand where students are in their abilities, skills, and aptitudes. Learning outcomes and standards give focus for where students are expected to be. The difference between where students are and the course outcomes is the place for growth—and goals.
Goals are not goals if they are just aspirations. Writing goals down and tracking them are important processes for achieving them. Here are a few ideas about goal setting conferences and how they might be used in an elementary classroom.
- Teach and discuss the purpose for setting goals.
- Help students develop a growth mindset; create a culture of growth.
- Introduce a goal setting process such as SMART (specific, measurable, attainable, relevant, and time-bound).
- Take the time to meet with each student to learn more about them, their interests, and skills. These meetings can be included in a station rotation activity.
- Use meetings to review current areas of growth and progress.
- Invite the student to evaluate where new growth can take place.
- Record progress toward previous goals and write down new goals. Include a chart to help students visualize progress.
- Encourage students to track their progress in an online journal and or chart.
9.3 The Personalization Paradox
Researchers have found that “[b]y providing meaningful choice in the context of classroom activities, teachers can support students’ autonomy and foster deep and prolonged engagement in learning” (Evans & Boucher, 2015, p. 90). However, too much student choice can actually be detrimental to student learning. We can see this in our personal lives. Just look at online video streaming services that provide users with massive, neatly curated menus based on topic/genre with viewing suggestions based on individual demographics and previous viewing behaviors. While there are clear benefits to this level of access and choice, some couples and families now engage in a nightly ritual of sitting in the same room while each person watches something different on their personal devices—not the best way to form relationships with those who are physically close to us. In our personal and academic lives, too much choice can also cause “choice overload,” where people scroll through options but are never able to make a decision. This form of FOMO (fear of missing out) can also make us feel less satisfied with the choices that we do make (Iyengar & Lepper, 2000). Evans and Boucher (2015) explained that “in order for choice to be motivating, it should be … provided in just the right amount” (p. 90).
Some schools have taken student choice and voice to the extreme (see in this fascinating 9-minute documentary on Sudbury Valley School).However, total choice in learning time, place, pace, path, and goals doesn’t work for most students.

When designing learning activities, teachers should remember that students’ ability to personalize learning varies across students and that too much choice too early can overwhelm them. Teachers also need to balance the need for students to personalize their learning with other needs such as collaboration development and communication skills. However, all teachers—regardless of their students—can introduce meaningful student choice into their learning activities.
Teachers Talk: Empowering Special Education Students to Personalize their Learning
Reflection question: How can you empower your special education students to personalize their learning?
In your Blended Teaching Workbook, create a few ideas of personalized assessments that students can choose from in order to show mastery of the content area you choose earlier.
If you haven't already opened and saved your workbook, you can access it here.


This content is provided to you freely by EdTech Books.
Access it online or download it at https://edtechbooks.org/k12blended_eled/eled_pers.